

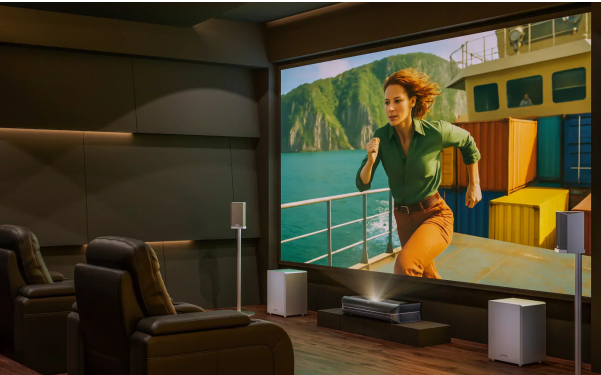
Getting your hands on a massive display is incredibly exciting, but pulling it out of the box is honestly just the beginning of your journey. Actually getting that picture to look flawless on your wall takes a little bit of patience and elbow grease. You really cannot just plop the unit on a coffee table, plug it in, and expect a pristine cinematic experience right off the bat. A proper projector setup guide always emphasizes that careful planning makes the difference between a frustrating mess and a jaw-dropping viewing session. Whether you are tackling a dedicated media cave or just trying to figure out a solid configuration for your main gathering space, taking the time to dial in the physical details is completely worth the effort.
Planning Your Installation Before You Mount Anything
Before you even think about picking up a power drill, you need to know exactly how your gear interacts with the dimensions of your specific space. The absolute biggest mistake people make during any home theater projector installation is blindly guessing where the lens should point. Every single unit has a specific throw ratio, which is just a fancy technical way of saying how far back it needs to sit to create a specific screen size. If you ignore this math, you will likely end up with an image that spills wildly over your screen borders or looks way too small for the wall. Take a breath, read the manual, and figure out the exact math for your room.
Measuring the Space First
Grab a trusty tape measure and physically mark out where the lens will live. You have to account for the depth of the unit itself plus the cables sticking out of the back. If you are putting it on a back shelf, you might find that the rigid HDMI cables prevent you from pushing it flush against the wall, which completely throws off your carefully calculated throw distance. Always measure twice and give yourself a few inches of breathing room for proper ventilation so the fans do not have to work overtime.
Positioning the Projector for a Perfect Image
Once you know the ideal distance, you have to decide exactly how the equipment will sit. Figuring out how to mount a projector correctly is crucial because even a slight angle can severely distort your image into a weird trapezoid shape. If you are going the ceiling route, you absolutely must ensure you are anchoring the heavy bracket directly into a solid wood joist rather than just relying on flimsy drywall anchors. A heavy piece of equipment crashing down in the middle of the night is a literal nightmare that you want to avoid at all costs.
Getting the Geometry Right
The goal is to have the lens perfectly parallel to the screen. A lot of people get lazy here and just use the digital keystone correction settings to fix a wonky, uneven image. Try your hardest to avoid doing this. Digital keystone actually turns off pixels and compresses your image, which significantly degrades the crisp resolution you just paid good money for. Instead, rely on physical lens shift features if your model has them. Manually moving the lens up, down, left, or right keeps the pixel count totally intact and provides a much sharper overall picture.
Connecting Sources and Sound
The visuals are honestly only half the battle when you are building a proper viewing environment. If you are aiming for an authentic living room theater setup, you need to make sure your audio receiver, gaming consoles, and streaming boxes are all talking to each other without creating a giant rat nest of cables across your floor. Invest in active fiber optic HDMI cables if you need to run a connection longer than fifteen feet, as standard copper cables often drop the signal over long distances. Run your wires through baseboard channels or behind the drywall to keep the space looking incredibly clean and intentional.
Tuning the Picture for Your Room
Out of the box, most electronics are calibrated to look good under harsh fluorescent warehouse lights. They usually push a terribly blue, overly bright picture that looks completely unnatural in a dark house. Dive right into the menus and immediately switch the picture mode away from vivid or dynamic. Dial it down to a cinema, movie, or filmmaker mode to instantly get more accurate colors and skin tones.
Calibrating for Light and Content
Even if you managed to splurge on one of those incredibly fancy premium home theater projectors, you still need to physically adjust the contrast and brightness to match the specific ambient light in your house. If you watch a lot of sports during the day, you will want the backlight bumped up. For pitch-black evening movie viewings, lowering the brightness will dramatically improve your black levels and make shadows look much more realistic. Play around with a few familiar movies until the image feels perfectly balanced to your eyes.
Fixing the Most Common Projector Problems
Sometimes things just go wrong, and having a few handy projector troubleshooting tips in your back pocket saves you from tearing your hair out when guests are waiting to watch a film. If your screen randomly goes black for a few seconds, it is almost always an HDMI handshake issue. Simply turning everything off, unplugging the cables, and turning the devices back on one by one usually fixes it. If the edges of your image are totally blurry while the center is sharp, your unit is likely not perfectly squared to the wall. Finally, if the machine sounds like a jet engine taking off, check the air filters. Dust buildup chokes the airflow, causing the fans to spin at maximum speed to prevent overheating. Keep things clean, aligned, and properly wired, and you will have an incredible viewing space for years to come.
